
Last updated September 23, 2026
Free visual inspection and a written scope of work before any mitigation begins - photos, moisture readings, and drying logs go in your claim file
The scope we write is the scope we bill. Anything new gets shown to you, in writing, before we touch it.
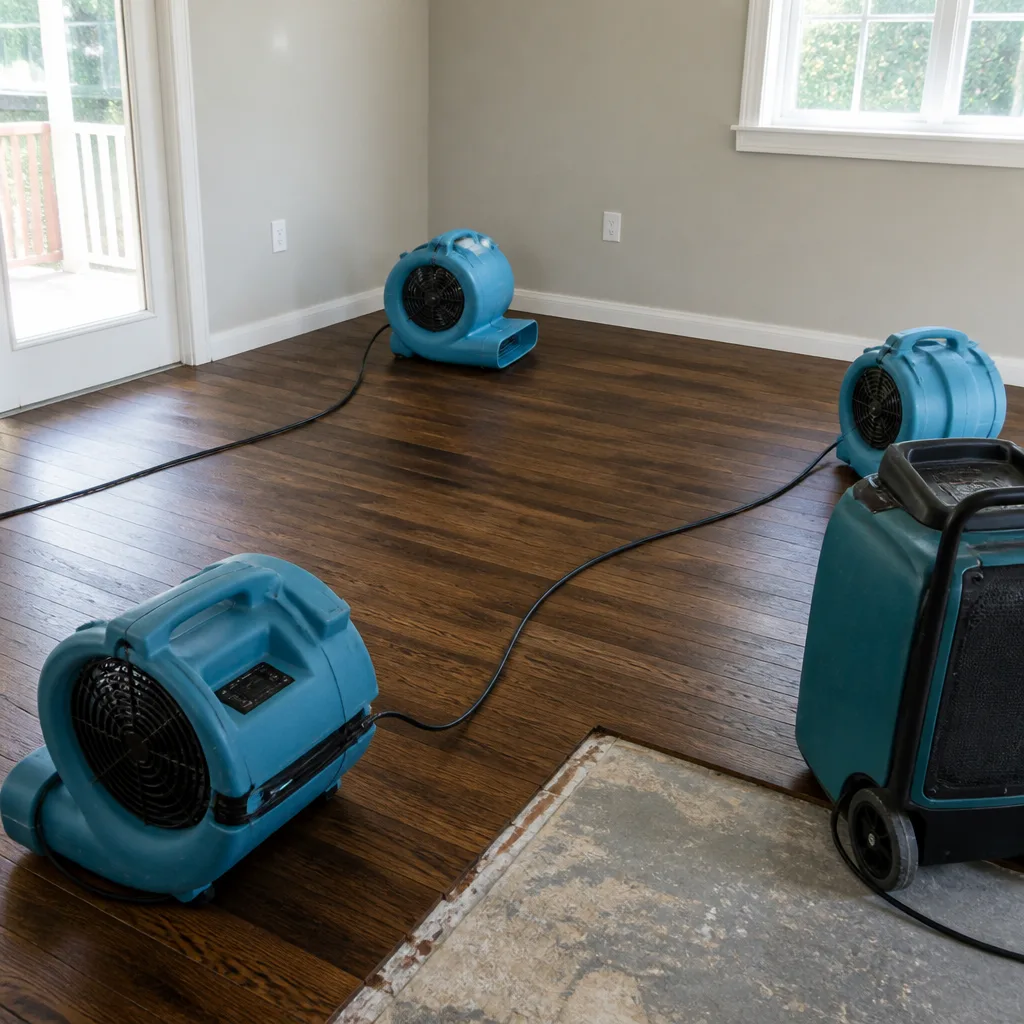

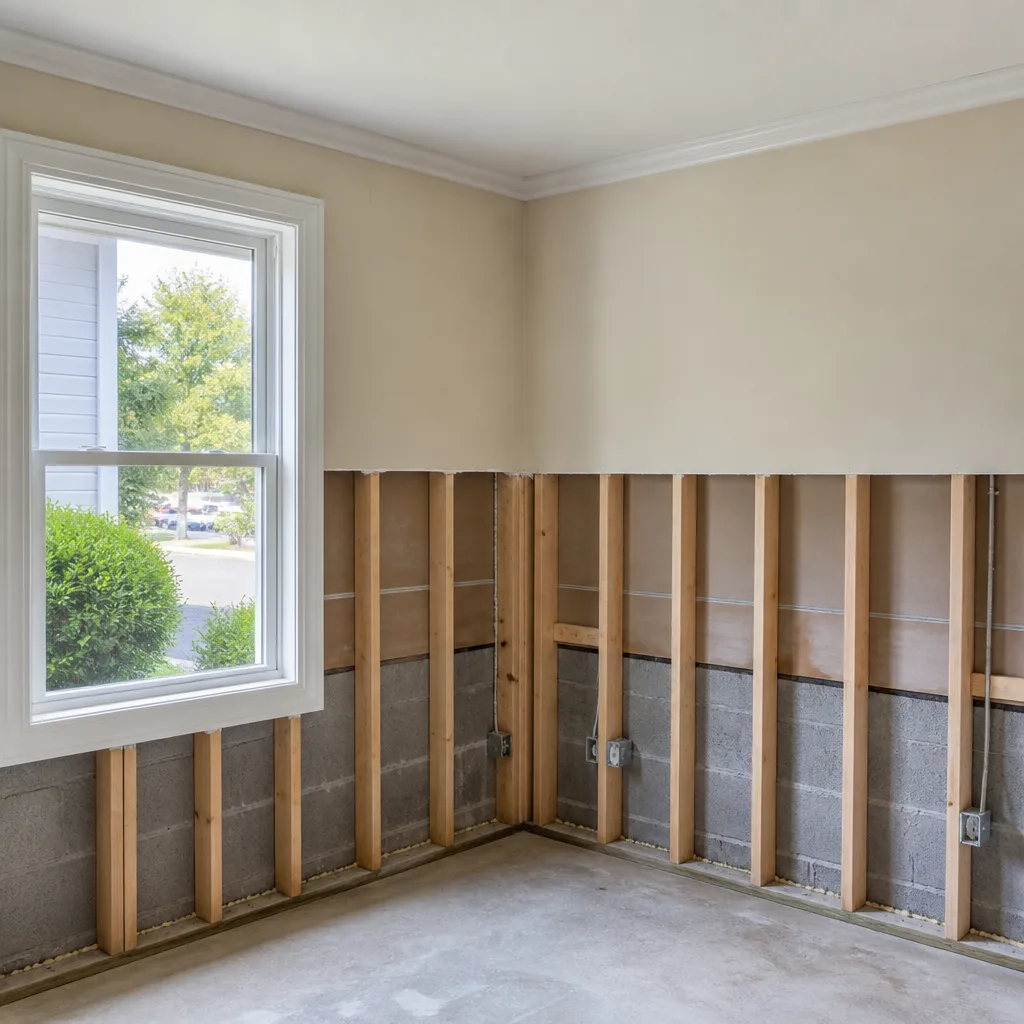


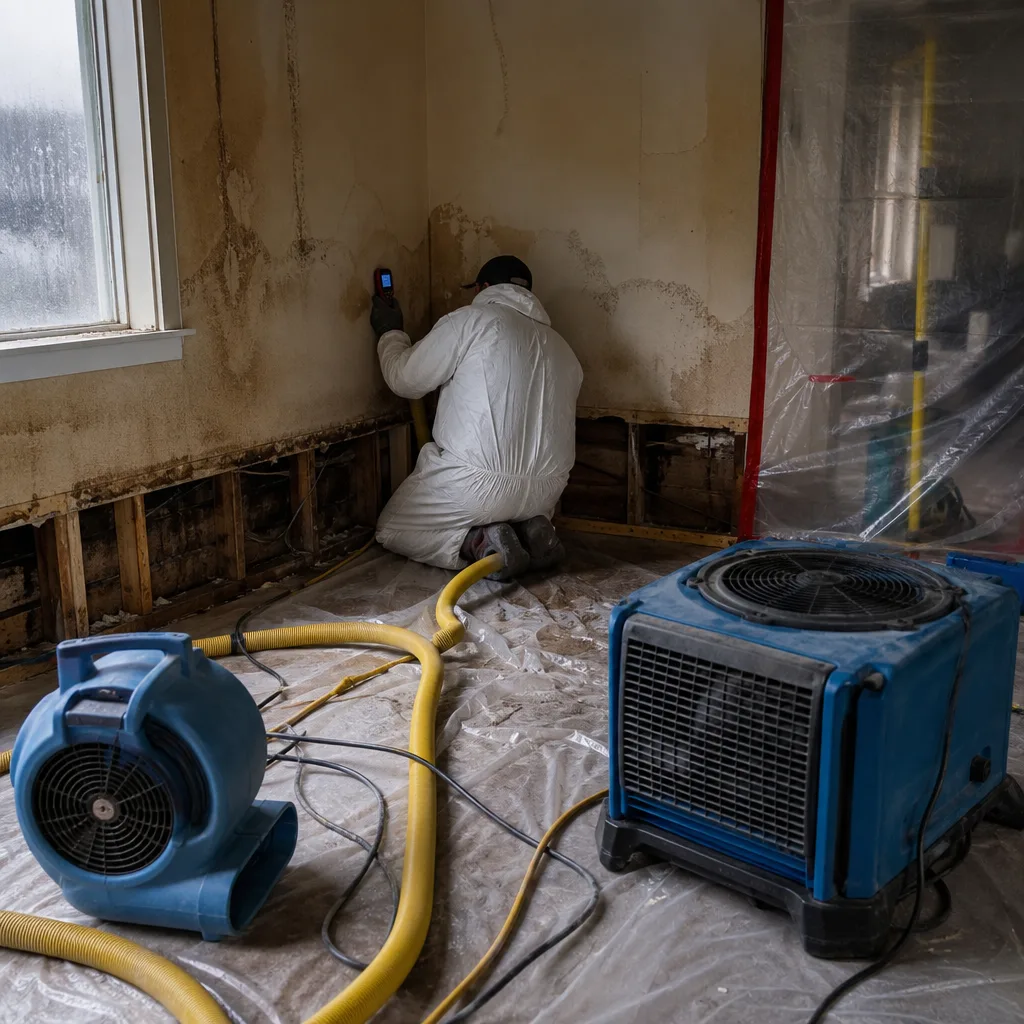 Before
 After
After Before
 After
After Before
 After
AfterWater Damage Restoration Maintenance Checklist for Everett Homeowners
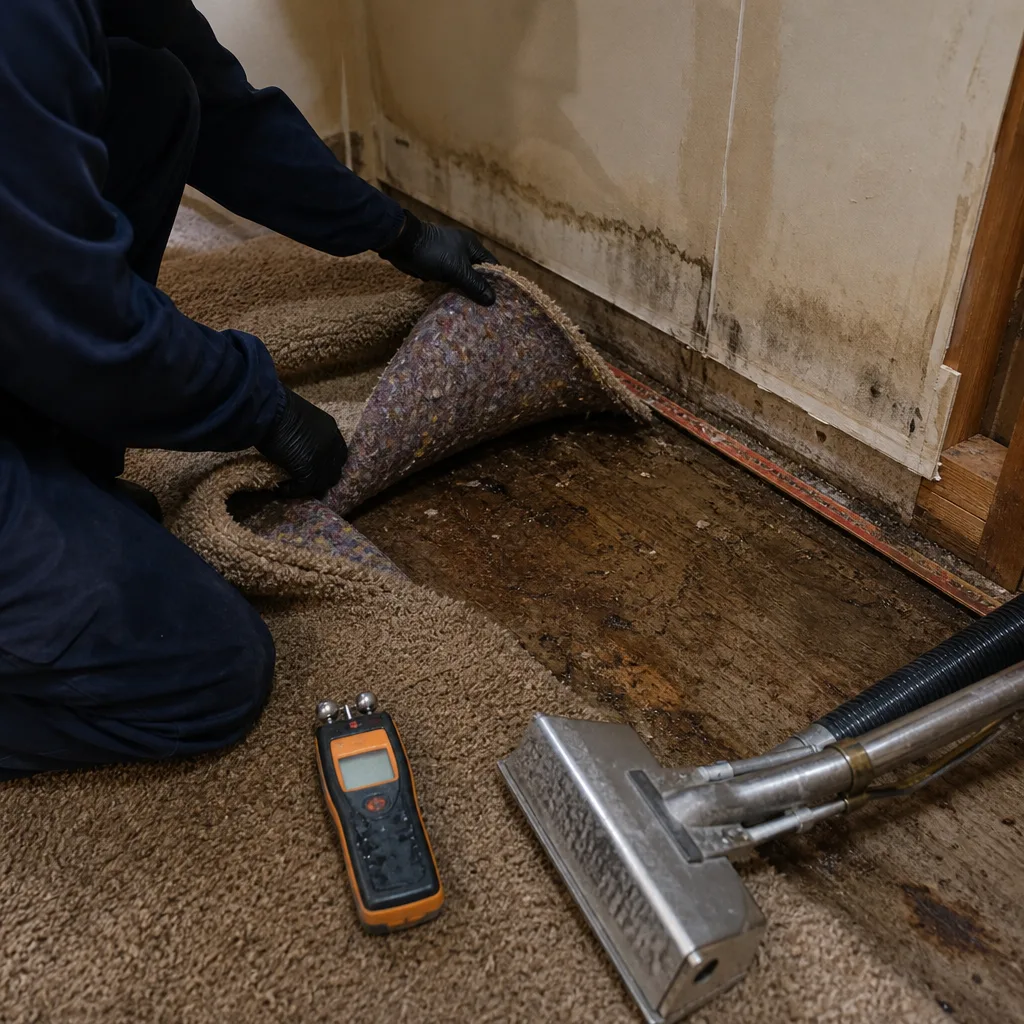
A moisture reading of 16% in a wall cavity looks fine until you compare it to last October’s reading of 11%. That 5-point climb is the only early warning you’ll get before mold establishes a colony. In Everett, where ground saturation typically begins in October and runs heavy through December, homeowners who track numbers instead of impressions catch problems while they’re still a maintenance item, not a claim. This guide replaces vague “inspect your gutters” advice with measurable thresholds, specific instrument classes, and a personal moisture baseline log format that restoration professionals in Everett can actually use. For deeper background, see The Complete Guide to Damage Restoration in Everett. You’ll learn which readings to take, where to take them, and how to document them so year-over-year comparisons are possible.
Quick Answer
A Water Damage Restoration maintenance checklist for Everett homeowners should include monthly moisture readings at six critical points (crawl space mudsill, basement rim joist, attic sheathing, interior wall cavities near plumbing, subfloor at exterior walls, and concrete slab perimeter), quarterly inspection of sump float switches and downspout extensions, and annual documentation of vapor barrier integrity and sill plate condition. Record all readings with date, location, instrument type, and photo reference in a standardized log so that a 5-point or greater increase from your personal baseline triggers professional evaluation before mold colonization begins.
Table of Contents
- Why Measurable Checklists Matter in Everett’s Climate
- The Instruments and Readings That Actually Matter
- The Six-Point Inspection Protocol
- The Everett Maintenance Calendar: When to Check What
- The Three Maintenance Failures That Appear in Every Everett Restoration File
- How to Build Your Personal Moisture Baseline Log
- Common Mistakes to Avoid
- When to Call a Professional
- Frequently Asked Questions
BeforeAfterWhy Measurable Checklists Matter in Everett’s Climate
Everett sits in a convergence zone where Puget Sound moisture meets the Cascade foothills, producing 40+ inches of annual precipitation concentrated in a six-month window from October through March. This isn’t a climate where you can eyeball a house and know it’s dry. We’ve restored 12,000+ homes since 2011, and the pattern is consistent: the homeowners who avoided major reconstruction were the ones who had numbers from previous years, not impressions. Explore more guides & resources on our blog.
The Pacific Northwest’s slow-drying environment means materials can stay above 16% moisture content for weeks without visible symptoms. Wood framing at 20% moisture content supports mold growth; at 28%, rot fungi establish. But surface dryness is misleading. A wall can feel dry to touch while the cavity behind it holds 22% moisture, especially in Everett’s older neighborhoods like Riverside and Bayside where balloon framing creates continuous vertical channels for moisture migration.
Measurable checklists solve three specific problems we encounter in Everett restoration files:
- No baseline for comparison. A homeowner sees “16%” on a meter and doesn’t know if that’s normal or alarming because they never recorded last year’s reading.
- Wrong instrument for the surface. Pinless meters on thick exterior stucco, pin meters on delicate interior trim - both produce misleading numbers that either hide problems or create false alarms.
- Inspection without documentation. A visual check happens, but there’s no photo, no date, no location reference. When the adjuster asks “when did you first notice,” the answer is “sometime last fall.”
The Water Damage Restoration in Everett work we perform under The Haven Standard always begins with documented moisture mapping. Homeowners who maintain their own logs arrive at that step with evidence that speeds both the restoration timeline and the insurance approval process.
The Instruments and Readings That Actually Matter
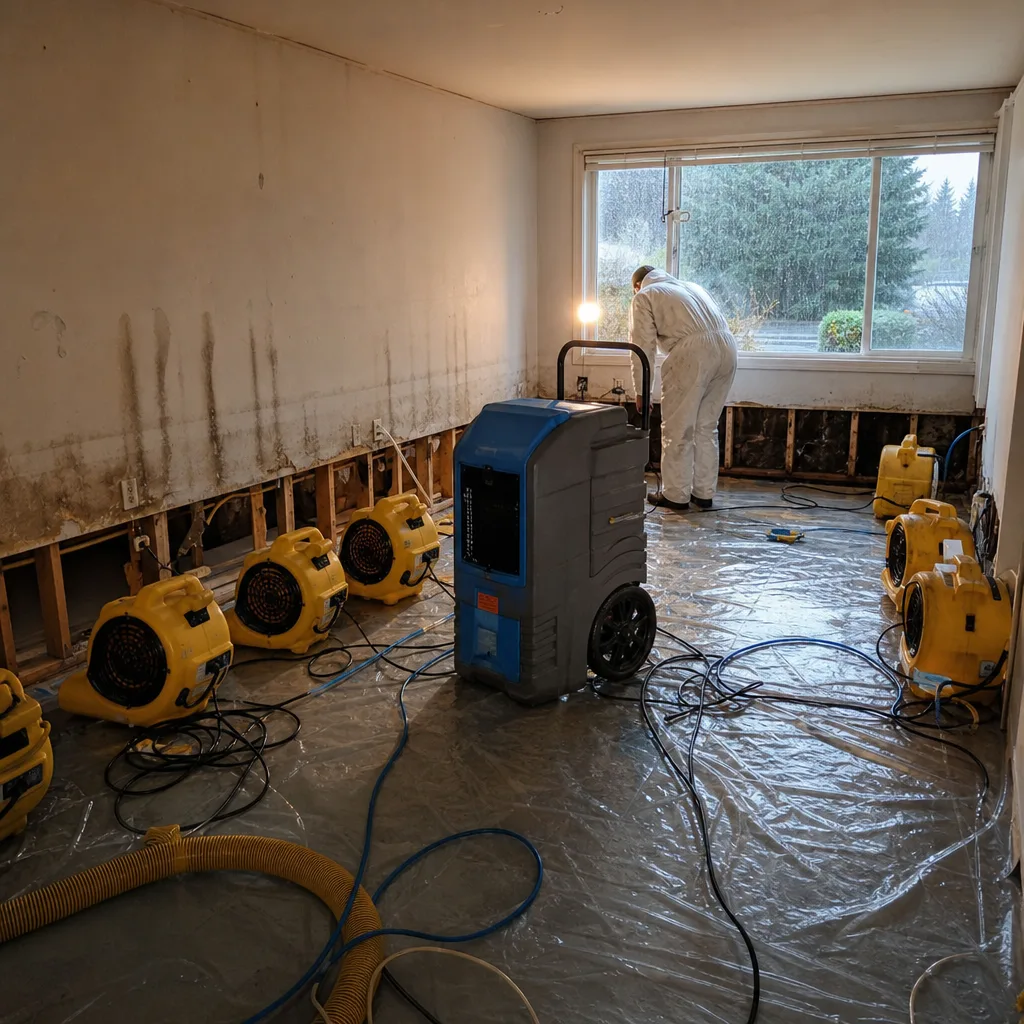
Not all moisture meters are appropriate for all surfaces. Using the wrong instrument class produces numbers that are worse than useless - they create false confidence. Here’s what we deploy on Everett jobs and what homeowners should understand before purchasing or borrowing equipment.
Pin Meters (Resistance-Based)
Pin meters drive two electrodes into the material and measure electrical resistance, which correlates to moisture content. They’re the correct choice for:
- Dimensional lumber (studs, joists, rafters) - use the species correction setting for Douglas fir, the dominant framing material in Everett construction
- Plywood and OSB subfloors - penetrate past any surface sealant or paint
- Hardwood flooring - accept the small pin holes as necessary for accurate assessment
Pin meters read moisture content directly as a percentage of dry weight, the standard used in IICRC drying protocols. For Everett homeowners, the critical threshold is 16%: sustained readings above this level in wood materials require professional evaluation. Readings above 20% indicate active moisture intrusion, not ambient humidity.
Pinless Meters (Dielectric/Electromagnetic)
Pinless meters scan a surface without penetration, measuring the dielectric properties of the material to a depth of approximately 0.75 to 1.5 inches depending on the model. They’re appropriate for:
- Drywall and plaster - where pin holes are undesirable and the scan depth captures the paper facing and gypsum core
- Tile and concrete - where pin penetration is impractical
- Exterior siding and stucco - where surface scanning identifies moisture gradients
Pinless meters typically display on a relative scale (0-100) rather than direct moisture percentage. For baseline logging, record the relative reading and the meter model. Comparison to your own previous readings matters more than absolute numbers. A jump from 35 to 65 on the same meter, same location, same season, indicates a problem regardless of the scale’s correlation to actual moisture content.
Thermo-Hygrometers and Psychrometric Data
Air temperature and relative humidity alone don’t tell you if a space is drying properly. Psychrometric data - the relationship between temperature, humidity, and vapor pressure - determines whether materials will actually release moisture to the air. Professional-grade drying systems from Phoenix and Dri-Eaz generate this data continuously; homeowners should record at minimum:
- Air temperature (°F)
- Relative humidity (%)
- Dew point temperature (°F) - calculated or read directly from a quality thermo-hygrometer
In Everett’s climate, a crawl space at 55°F and 70% relative humidity has a dew point of 45°F. Any surface at or below 45°F will condense moisture. This is why uninsulated ductwork and plumbing in crawl spaces develop condensation in October, when ground temperatures lag behind cooling air temperatures.
What to Buy vs. What to Borrow
A quality pin meter (Delmhorst BD-2100 or equivalent) costs $300-$400 and lasts decades with proper electrode care. A reliable pinless meter (Protimeter Surveymaster or equivalent) runs $250-$350. For homeowners in Everett’s moisture-intensive climate, owning both is reasonable if your home has any of the following: finished basement, crawl space, flat roof, or history of previous water damage. Budget-minded readers can consult our Damage Restoration Cost Breakdown: The Everett Homeowner’s Reference for 2026.
For annual or semiannual use, many Everett-area tool rental services carry moisture meters. Document the exact model and serial number in your log so you can account for instrument variation between readings.
The Six-Point Inspection Protocol
These six locations produce the readings that matter most in Everett homes. We’ve selected them based on 12,000+ restoration files: these are where moisture enters, where it hides, and where it causes structural damage before becoming visible.
Point 1: Crawl Space Mudsill
The mudsill is the horizontal framing member that rests directly on the foundation. In Everett, where winter groundwater tables rise and fall with precipitation, this is the most common starting point for structural decay we encounter.
- Locate the mudsill at any exterior wall, typically visible from inside the crawl space.
- Using a pin meter with insulated deep-wall electrodes, penetrate the mudsill at a 45-degree angle to reach the center of the member.
- Record three readings per wall: left corner, center, right corner.
- Photograph each reading location with the meter display visible; note the photo file number in your log.
Baseline target for Douglas fir mudsill in Everett: 10-14% during dry season (July-September). Readings above 16% in any season require investigation of grade drainage and vapor barrier integrity.
Point 2: Basement Rim Joist
The rim joist sits atop the foundation wall, connecting the foundation to the floor framing. It’s exposed to both exterior soil moisture and interior humidity, making it a critical thermal and moisture boundary.
- Access the rim joist from the basement or crawl space; in finished basements, remove a small section of ceiling tile or access panel at a strategic location.
- Use pin meter readings at the bottom edge of the rim joist where it meets the foundation - this is the cold surface most prone to condensation.
- Check for air gaps between the rim joist and foundation; even 1/8-inch gaps allow convective moisture movement that bypasses vapor barriers.
Everett-specific note: Homes built before 1980 in the Delta and Holly areas often have unsealed rim joists with no insulation. These require more frequent monitoring and should be prioritized for air sealing with rigid foam and proper flashing.
Point 3: Attic Sheathing
Roof sheathing moisture indicates either active roof leakage or, more commonly in Everett, condensation from inadequate attic ventilation. The Pacific Northwest’s cool, humid air makes attic ventilation a year-round concern, not just a summer issue.
- Access the attic during morning hours when nighttime cooling may reveal condensation.
- Use a pinless meter on the underside of plywood or OSB sheathing, scanning multiple locations.
- Inspect for dark staining, which indicates repeated wetting even if current readings are normal.
- Check that soffit vents are unobstructed by insulation; in Everett’s mature neighborhoods, we find blocked soffit vents in approximately 40% of attics we inspect.
Attic sheathing should read below 15% on a pinless meter’s relative scale during any season. Higher readings with no visible roof damage indicate ventilation failure, not leakage - a distinction that saves thousands in unnecessary roof work.
Point 4: Interior Wall Cavities Near Plumbing
Plumbing walls concentrate risk: supply lines under pressure, drain lines with joints, and the stack effect that draws moist air through penetrations.
- Identify all plumbing walls: kitchen sink, bathroom groups, laundry, water heater.
- At baseboard level, use a pinless meter to scan drywall approximately 6 inches above the floor - this catches wicking from slab or subfloor moisture.
- At switch plate height, remove a cover plate and use a borescope or small inspection mirror to view the cavity interior; look for staining on the back of drywall or framing.
- For homes with polybutylene supply lines (common in Everett construction 1978-1995), increase inspection frequency to quarterly - these lines fail predictably with age.
Point 5: Subfloor at Exterior Walls
Exterior walls are where wind-driven rain penetrates, where grade slopes toward the foundation, and where thermal bridging creates cold surfaces for condensation.
- From the crawl space or basement, locate the subfloor directly above each exterior wall.
- Using a pin meter, test the subfloor at 12-inch intervals along the wall length.
- Pay particular attention to corners and locations below windows and doors - these account for 60% of exterior wall moisture intrusion we document.
- Record any gradient: a reading of 12% at the center of the room and 19% at the exterior wall indicates localized intrusion, not ambient humidity.
Point 6: Concrete Slab Perimeter
Everett’s clay-heavy soils expand with moisture and exert hydrostatic pressure on slab foundations. The perimeter is where this pressure first manifests.
- Use a pinless meter on the interior floor surface at 2-foot intervals along exterior walls.
- Record relative readings; concrete above 75% relative on most pinless scales indicates moisture transmission through the slab.
- Look for efflorescence - white mineral deposits - which indicates water movement through concrete even when current readings are moderate.
- Check for floor covering damage: curling vinyl, staining carpet, loose tile adhesive.
The Everett Maintenance Calendar: When to Check What
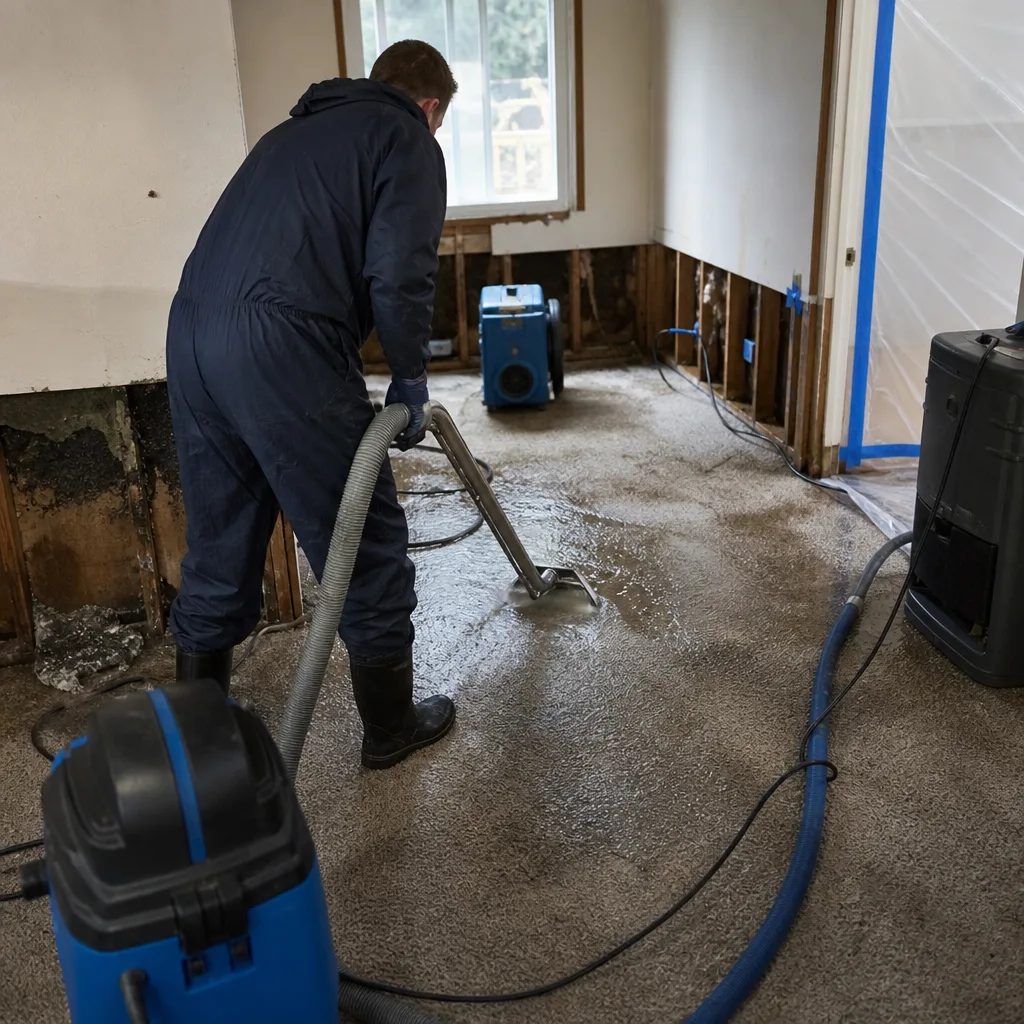
Everett’s precipitation pattern creates distinct maintenance windows. Working with this rhythm, rather than against it, produces more meaningful data and catches problems before the wet season accelerates them.
September: Baseline Month
September is Everett’s driest month, statistically. Ground moisture is at annual minimum, air conditioning (if present) has run its course, and heating season hasn’t begun. This is when you establish or update your annual baseline.
- Complete full six-point inspection protocol
- Record all readings in your log as “Baseline [Year]”
- Photograph all instrument displays with date stamp enabled
- Test and document sump pump operation: fill the pit manually to verify float switch triggers at correct level
- Inspect and photograph all downspout extensions; confirm discharge is 6+ feet from foundation
October-December: Critical Monitoring Window
This is when Everett’s ground saturation begins. The first heavy rains of October penetrate soil that dried through summer; by December, groundwater tables rise and crawl spaces face peak vapor drive.
- Recheck crawl space mudsill and basement rim joist monthly
- Compare readings to September baseline; any 5-point increase triggers investigation
- Verify sump pump operation after first significant storm
- Check gutter overflow patterns during heavy rain; photograph any spillover that reaches the foundation
Homes in the Lowell and Silver Lake areas, where soils are particularly clay-heavy, may see earlier groundwater response than homes on the bluffs above Puget Sound. Your own baseline log will reveal your property’s specific pattern within one to two years.
January-March: Sustained Pressure Period
Soil is saturated, snowmelt adds volume, and freeze-thaw cycles stress exterior seals.
- Maintain monthly checks at high-risk points
- Inspect attic sheathing after any ice dam event - rare in Everett but increasing with climate variability
- Check for frost accumulation in crawl spaces, which indicates inadequate ground cover or ventilation
- Document any plumbing wall readings that exceed baseline by 3+ points
April-June: Recovery Assessment
As precipitation decreases and temperatures rise, materials should begin releasing moisture. Readings that don’t decline indicate trapped moisture requiring professional drying.
- Complete full six-point inspection
- Compare all readings to September baseline; persistent elevation indicates active problem, not seasonal variation
- Schedule any needed repairs before September baseline cycle begins
- Review annual log for trends; three years of data reveals your home’s normal variation range
July-August: Maintenance and Preparation
- Service sump pump: clean pit, test check valve, verify discharge line is clear
- Clean gutters and downspouts; repair or replace extensions
- Inspect and repair crawl space vapor barrier; 6-mil polyethylene minimum, sealed at seams and perimeter
- Address any grade or drainage issues identified during wet season
The Three Maintenance Failures That Appear in Every Everett Restoration File
From our restoration documentation under The Haven Standard, three maintenance failures recur with such consistency that we can predict their presence before arriving on site. Each is detectable with the protocol above; each is ignored until it causes structural damage.
Failure 1: Failed Sump Float Switches
The float switch is a mechanical component with a finite lifespan, typically 5-7 years under normal cycling. When it fails, the pump itself often still functions - but only if manually activated. Homeowners discover the failure when water reaches the basement floor, not when the switch first sticks.
Detection: Monthly manual testing (pour water into pit until pump activates) catches sticking before failure. Document the test date and pump response time. A pump that takes more than 30 seconds to activate as water rises needs switch replacement.
Everett-specific context: The high water table in areas near the Snohomish River delta means pumps cycle more frequently, accelerating wear. Homes in the Riverside and Port Gardner neighborhoods should plan switch replacement every 4-5 years as preventive maintenance.
Failure 2: Disconnected Downspout Extensions
Downspout extensions are the most vandalized, damaged, and neglected component of residential drainage. Lawnmowers, pets, foot traffic, and simple forgetting after yard work disconnect them from the downspout elbow. A single disconnected extension dumps hundreds of gallons per year against the foundation.
Detection: Quarterly visual inspection during rain, not just dry-weather checks. Water should discharge 6+ feet from foundation on sloped grade. In Everett’s dense neighborhoods like Bayside, where setbacks are minimal, this may require underground discharge or a carefully designed splash block system.
Documentation: Photograph each extension during active rain; the photo proves function in a way a dry-weather inspection cannot.
Failure 3: Cracked Mudsill Sill Plates
The sill plate (the treated lumber between mudsill and foundation) cracks from cyclic wetting, drying, and the bearing stress of the structure above. Cracks allow termite access, create capillary moisture pathways, and reduce structural bearing capacity. In Everett’s older housing stock, particularly pre-1960 construction in the Delta and Northwest neighborhoods, sill plate deterioration is endemic.
Detection: Annual inspection with pin meter readings that reveal internal decay before external cracking appears. Readings above 20% in the sill plate indicate conditions that accelerate deterioration. Visual inspection for external cracks, compression, or insect damage should accompany meter readings.
Critical distinction: A cracked sill plate is not a DIY repair. The structural load above requires temporary support, engineered repair, and building department inspection. Our DryMark Restoration Everett home page details how we document and coordinate these repairs under The Haven Standard’s written scope process.
How to Build Your Personal Moisture Baseline Log
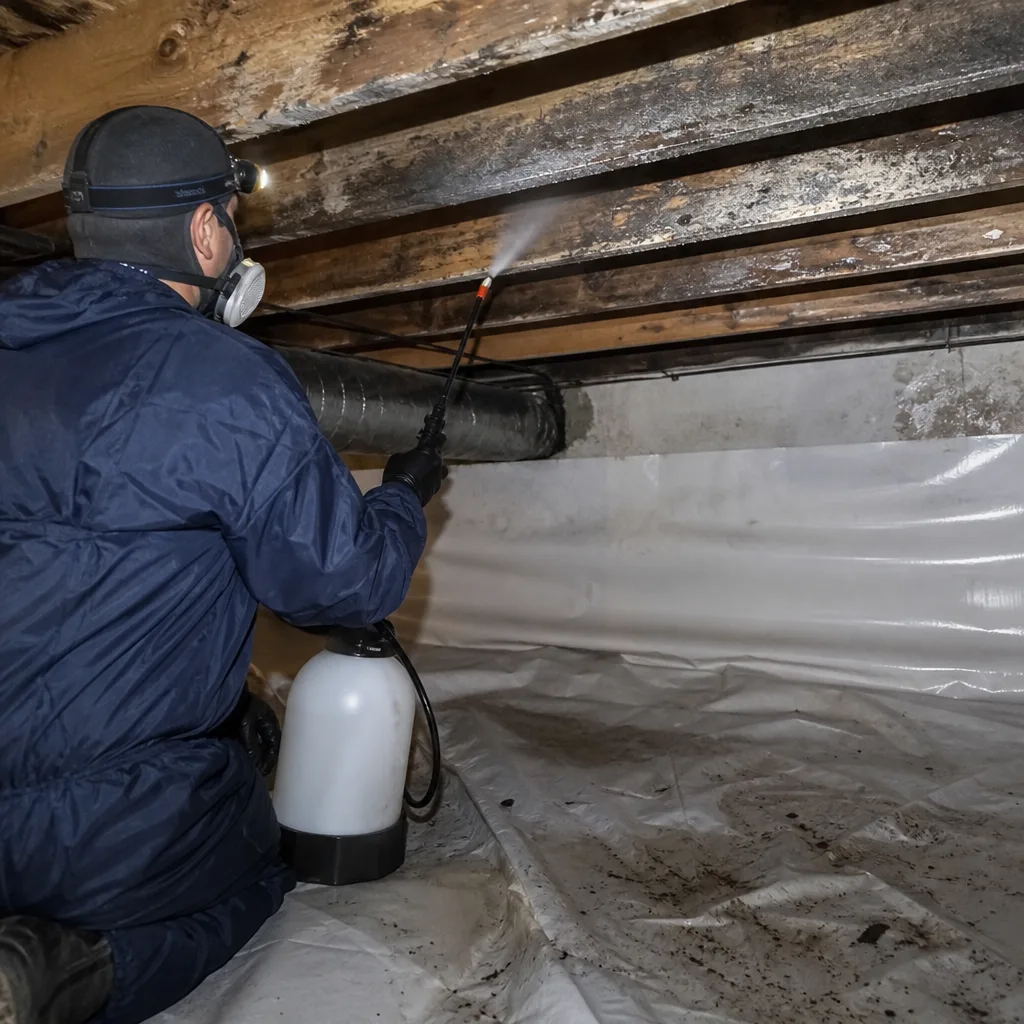
A log that professionals can use follows a specific format. Vague notes like “crawl space looks good” are useless; precise entries with instrument readings, locations, and photo references create evidence that survives scrutiny.
Log Format
Create a spreadsheet or printed table with these columns:
| Date | Location | Material | Instrument | Reading | Units/Scale | Conditions | Photo Ref | Notes |
|---|---|---|---|---|---|---|---|---|
| 9/15/2024 | Crawl space, north wall mudsill, left corner | Douglas fir | Delmhorst BD-2100, pin | 11.2 | % moisture content | 68°F, RH 62%, dry season | IMG_2047 | Baseline reading; no visible staining |
| 10/22/2024 | Same location | Douglas fir | Delmhorst BD-2100, pin | 13.8 | % moisture content | 55°F, RH 78%, post-storm | IMG_2156 | 2.6-point increase from baseline; within normal seasonal variation |
| 11/18/2024 | Same location | Douglas fir | Delmhorst BD-2100, pin | 17.5 | % moisture content | 48°F, RH 85%, sustained rain | IMG_2289 | 6.3-point increase from baseline; exceeds 5-point threshold; scheduled professional evaluation |
Key Practices
- Consistency over precision. The same instrument, same location, same depth of penetration matters more than absolute accuracy. A $300 meter used consistently produces more actionable data than a $2,000 meter used once.
- Photo documentation. Every reading gets a photo of the meter display with the measurement location visible in frame. Photo file names or numbers go directly in the log.
- Environmental conditions. Record temperature and relative humidity at time of reading. A 16% wood moisture reading at 75°F means something different than the same reading at 45°F.
- Threshold alerts. Set your personal alert at 5 points above your established baseline for any given location and season. This is earlier than visible damage and earlier than most mold colonization thresholds.
Digital vs. Physical Storage
Cloud-based spreadsheets with photo backup are standard. However, for insurance claim purposes, a printed log with photo prints in a binder creates physical evidence that survives digital failures. We recommend both: digital for ease of updating, printed annual summary for claim documentation.
The Mold Remediation in Everett work we perform often begins with homeowner logs that demonstrate when moisture conditions first exceeded safe thresholds. This documentation frequently determines whether mold damage is covered as sudden and accidental or excluded as long-term maintenance neglect.
Common Mistakes to Avoid
- Using a single meter type for all surfaces. Pin meters on concrete produce meaningless numbers; pinless meters on thick lumber read only the surface. Match instrument to material or your log contains fiction.
- Inspecting only after visible damage appears. By the time you see staining or feel soft drywall, moisture has been present for weeks to months. The purpose of baseline logging is to catch the 5-point rise, not the 20-point crisis.
- Ignoring the instrument’s depth limitation. A pinless meter reading 15% on tile may indicate 80% moisture in the subfloor beneath. Know what your instrument actually measures.
- Failing to record negative findings. “No elevation from baseline” is as important as “5-point increase.” Insurance adjusters look for documentation of normal conditions, not just problems.
- Checking only during convenient weather. The most important readings in Everett are during October storms and January thaws, when problems are active. Dry-season checks confirm baseline; wet-season checks catch failures.
- Not updating the log when repairs are made. A new vapor barrier, sealed rim joist, or replaced sump pump resets your baseline. Note the repair date and begin a new comparison period.
- Relying on smell or appearance. Musty odor indicates established mold, not early moisture. Visible mold indicates colonization, not the initial wetting event. Both are late-stage findings.
When to Call a Professional
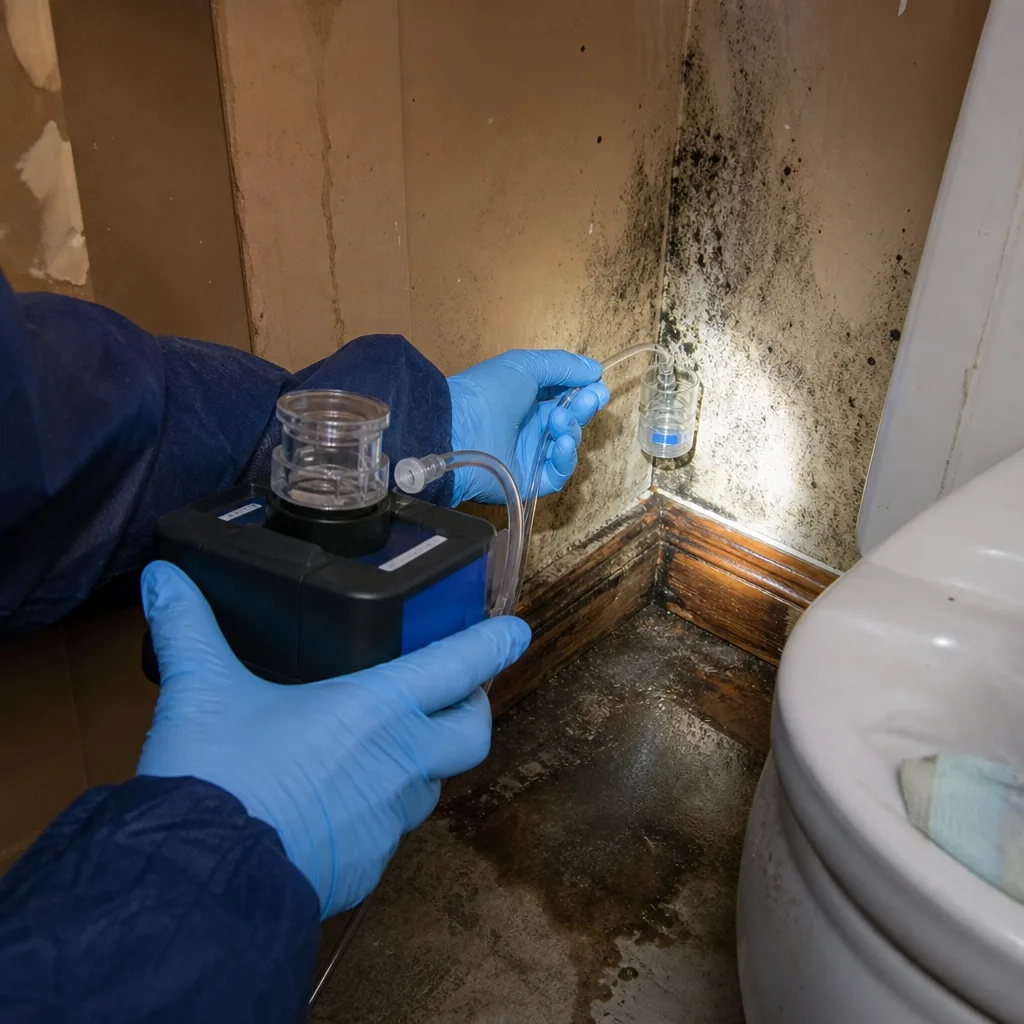
Call for professional evaluation when: any reading exceeds your established baseline by 5 points or more; you discover active water flow, dripping, or standing water; mold growth is visible regardless of moisture readings; or structural materials feel soft, compressed, or crumbly. These thresholds protect you from both unnecessary expense and delayed response.
Professional restoration provides capabilities no homeowner maintenance program can replicate: thermal imaging to trace moisture migration paths; professional-grade drying systems from B-Air and Injectidry that establish vapor pressure differentials to extract bound moisture; and the documented drying logs that satisfy IICRC standards and insurance requirements.
DryMark Restoration Everett offers free estimates in Everett - call (360) 502-8815. Every estimate includes a written scope and price before any work begins, documented to The Haven Standard, Clause 1. We also provide free second opinions on any competitor’s written estimate, with no obligation.
Frequently Asked Questions
Professional moisture mapping for residential properties in Everett typically ranges from $250 to $600 depending on property size and access complexity. This includes thermal imaging, pin and pinless meter survey, and a written moisture map with photo documentation. At DryMark Restoration Everett, this assessment is included at no charge when bundled with any restoration service, and standalone moisture mapping estimates are always provided in writing before work begins under Haven Standard, Clause 1. Call (360) 502-8815 for exact pricing on your property.
Insurance coverage depends on whether damage is sudden and accidental versus gradual and caused by maintenance neglect. Detailed maintenance logs that demonstrate regular inspection and timely response to elevated readings strengthen your position that damage was unforeseeable, not neglected. We’ve seen claims denied for “long-term moisture” that would have been covered with documentation showing a recent, sudden increase from baseline. Photo-documented logs with dated readings are admissible evidence in claim disputes.
For active water intrusion, DryMark Restoration Everett provides live phone coverage 24 hours a day, 7 days a week with no voicemail on emergency lines. Dispatch for water damage mitigation typically occurs within 60-90 minutes of call receipt for Everett addresses. Reconstruction and non-emergency services are scheduled after written scope and price agreement. Speed matters for mitigation - every hour of delay increases the water migration area and the final restoration cost.
Elevated readings without visible mold typically require professional drying only: containment, air movement, dehumidification, and documented moisture reduction to below 12% wood moisture content. Full remediation with removal of materials becomes necessary when: mold is visible or air sampling indicates colonization; materials have been wet for more than 72 hours; or structural integrity is compromised. The decision should be based on instrument readings, visual inspection, and material history - not guesswork. A written scope from a qualified restoration contractor defines the exact boundary between drying and remediation for your specific conditions.
At DryMark Restoration Everett, we coordinate directly with your adjuster as a standard service, not an upsell. This includes: photo documentation on every visit uploaded to a shared file; daily drying logs in IICRC format; written scope revisions when hidden damage is discovered; and direct phone availability for adjuster questions. Our documentation-first approach - the foundation of The Haven Standard since 2011 - exists specifically because we saw how poor documentation costs homeowners their claims. You remain the policyholder and final decision-maker; we handle the paperwork burden.
Cedar siding requires a pinless meter. Western red cedar, common in Everett’s mid-century construction, is soft and easily damaged by pin penetration; more importantly, cedar’s natural extractives interfere with pin meter electrical resistance, producing readings that can be 30-50% inaccurate. A pinless meter scans the surface and subsurface without damage or chemical interference. For baseline logging, record the relative scale reading and note “cedar siding, pinless scan” so future comparisons account for the instrument type. If you need to verify subsurface conditions behind cedar, a borescope inspection through a discreet removal point is more reliable than pin penetration.
The Bottom Line
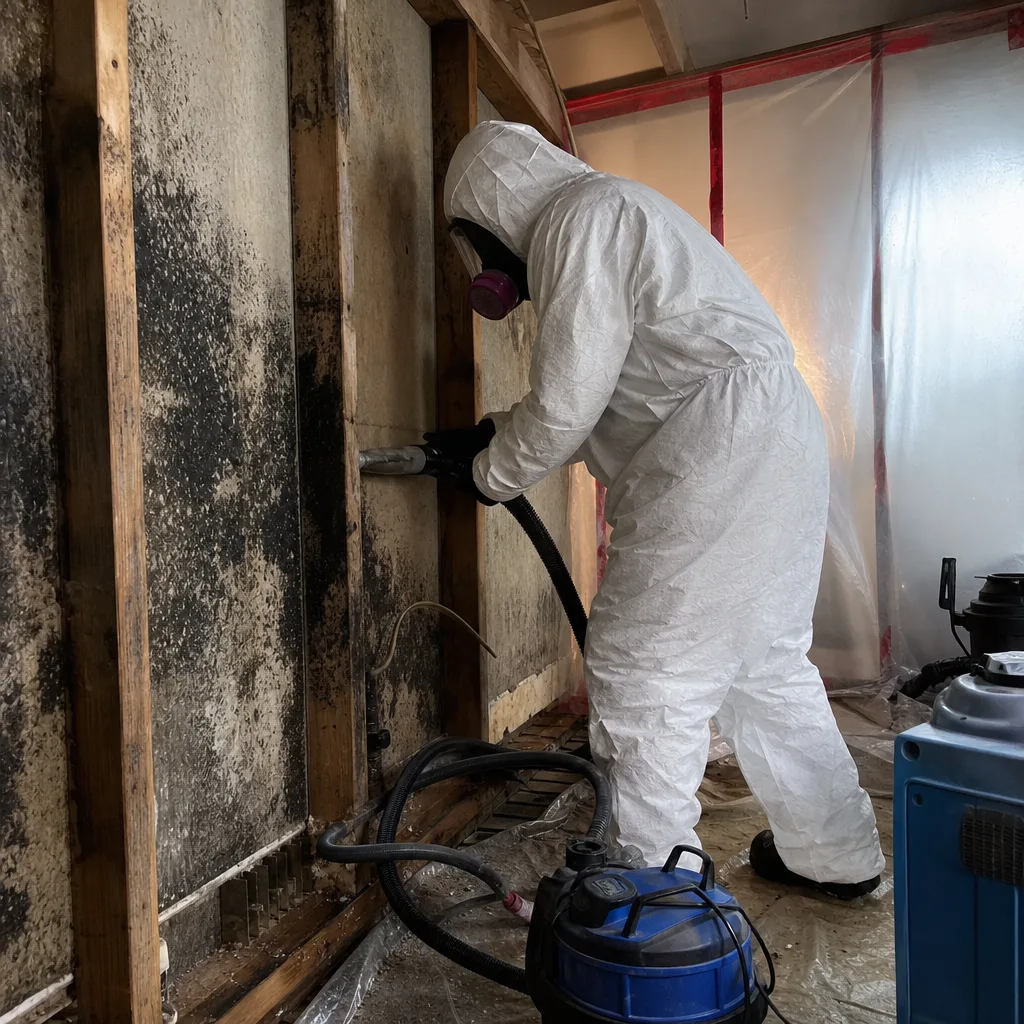
Water damage prevention in Everett is not a matter of inspecting harder; it’s a matter of measuring better. The six-point protocol, the seasonal calendar tied to local precipitation patterns, and the personal baseline log transform vague vigilance into documented evidence. The three failures that dominate our restoration files - failed sump switches, disconnected downspouts, cracked sill plates - are all detectable with simple instruments before they cause structural damage. A 5-point moisture increase from your personal baseline is your actionable threshold, not the visible stain that appears weeks later. Maintain the log, respect the numbers, and call for professional evaluation when thresholds are crossed.
Written by Alicia Brennan, Owner at DryMark Restoration Everett, serving Everett since 2011.